
With this little tutorial I will show you how it is possible to generate a raster and a vector of elevation bands.
Materials needed:
- a minimum of manual skill in the GIS field;
- any DEM. You can also download one for free from the WCS services of the Geoportale Nazionale;
- an empty .txt file;
- QGIS+GRASS.
LET'S GET STARTED!
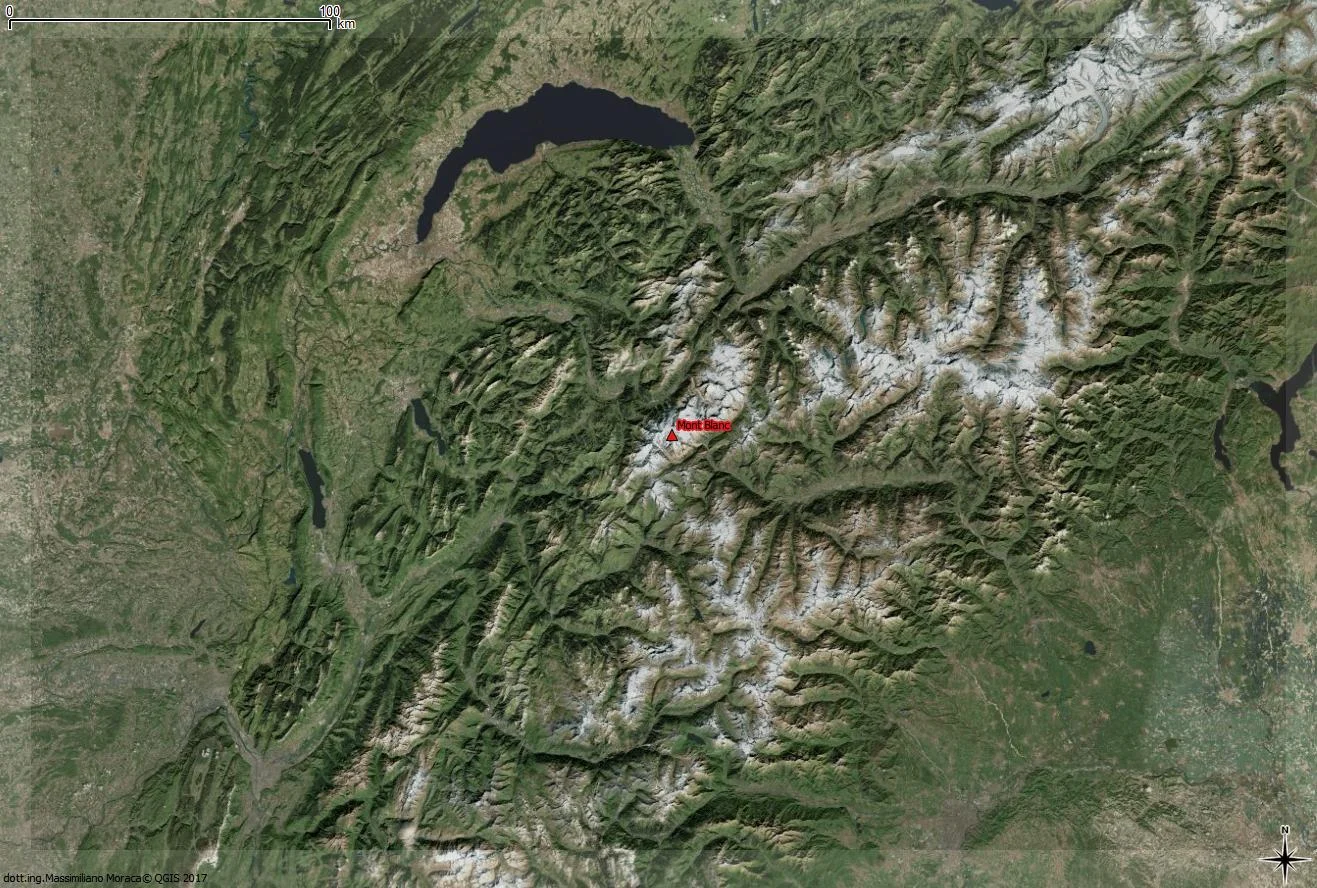
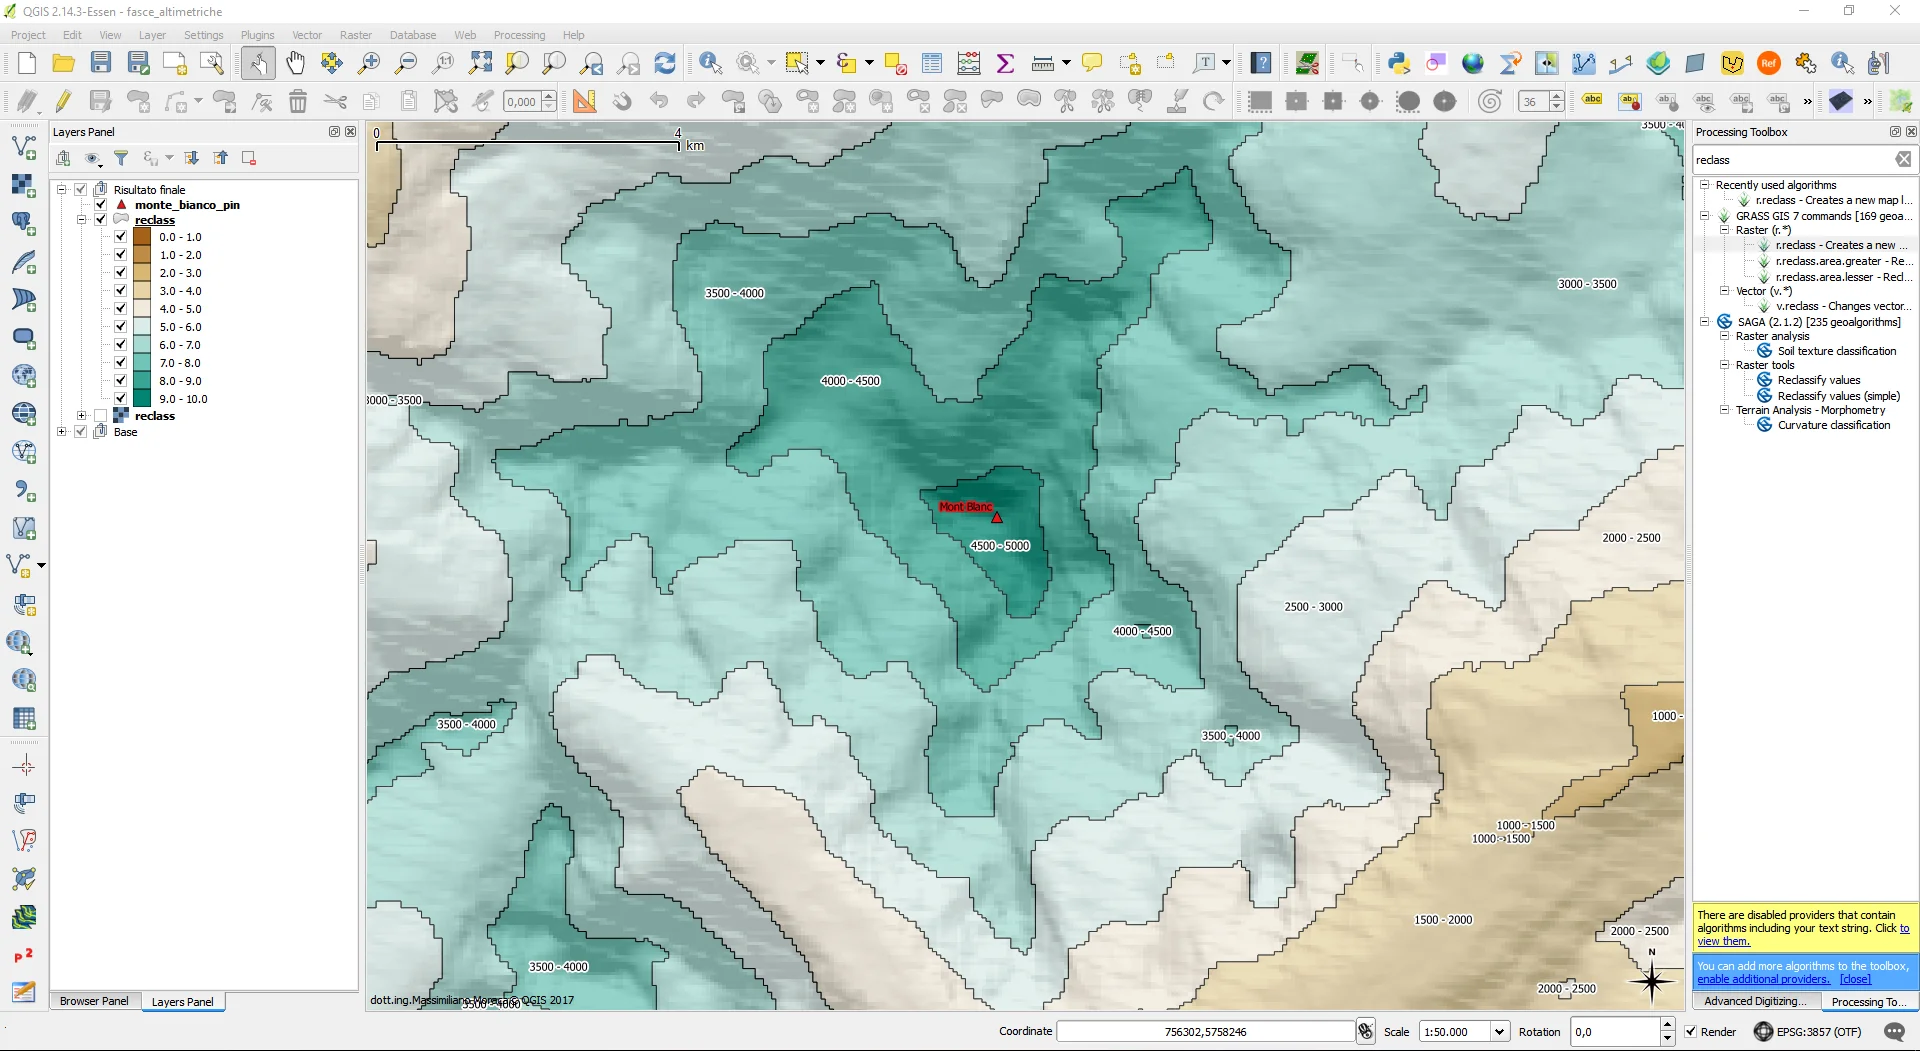
First we center the area of interest; in this tutorial I will do reference to the Monte Bianco area. We study the raster metadata and identify the minimum and maximum quota.
Once the minimum and maximum quotas are known, we open a .txt file and insert the following syntax:
0 thru 500 = 1
501 thru 1000 = 2
1001 thru 1500 = 3
1501 thru 2000 = 4
2001 thru 2500 = 5
2501 thru 3000 = 6
3001 thru 3500 = 7
3501 thru 4000 = 8
4001 thru 4500 = 9
4501 thru 5000 = 10
In this example I have divided the altitudes of the DEM into 10 altitude classes, the first goes from 0 to 500 m, the second from 501 to 1000 m and so on. away. You can choose a different subdivision or the same one I chose.
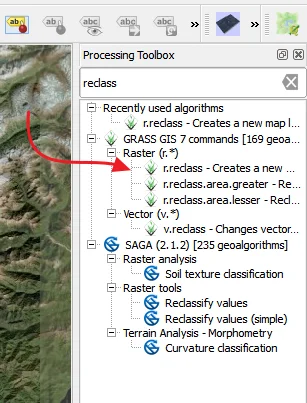
Having identified the area of interest and prepared our text file, we go to the "Processing Toolbox" and type reclass to view the GRASS reclassification algorithm. Let's start it with a double click!
At this point it will open the following form
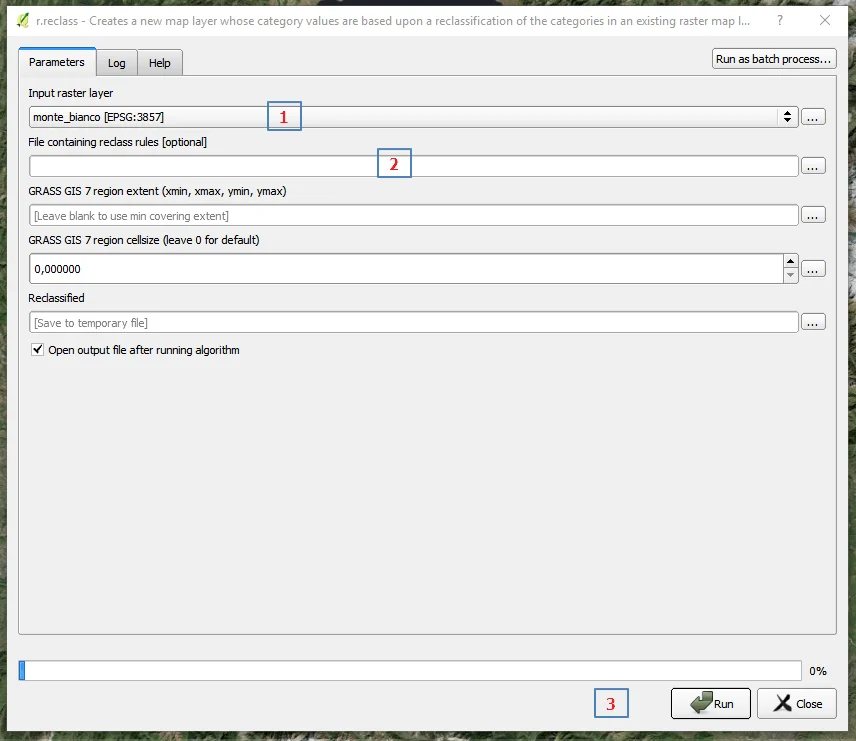
In step 1 we choose the DEM of our interest, in step 2 we choose the .txt file that we created previously and then click on "RUN" in step 3. We have thus obtained our raster with the altitude bands which are then themed.
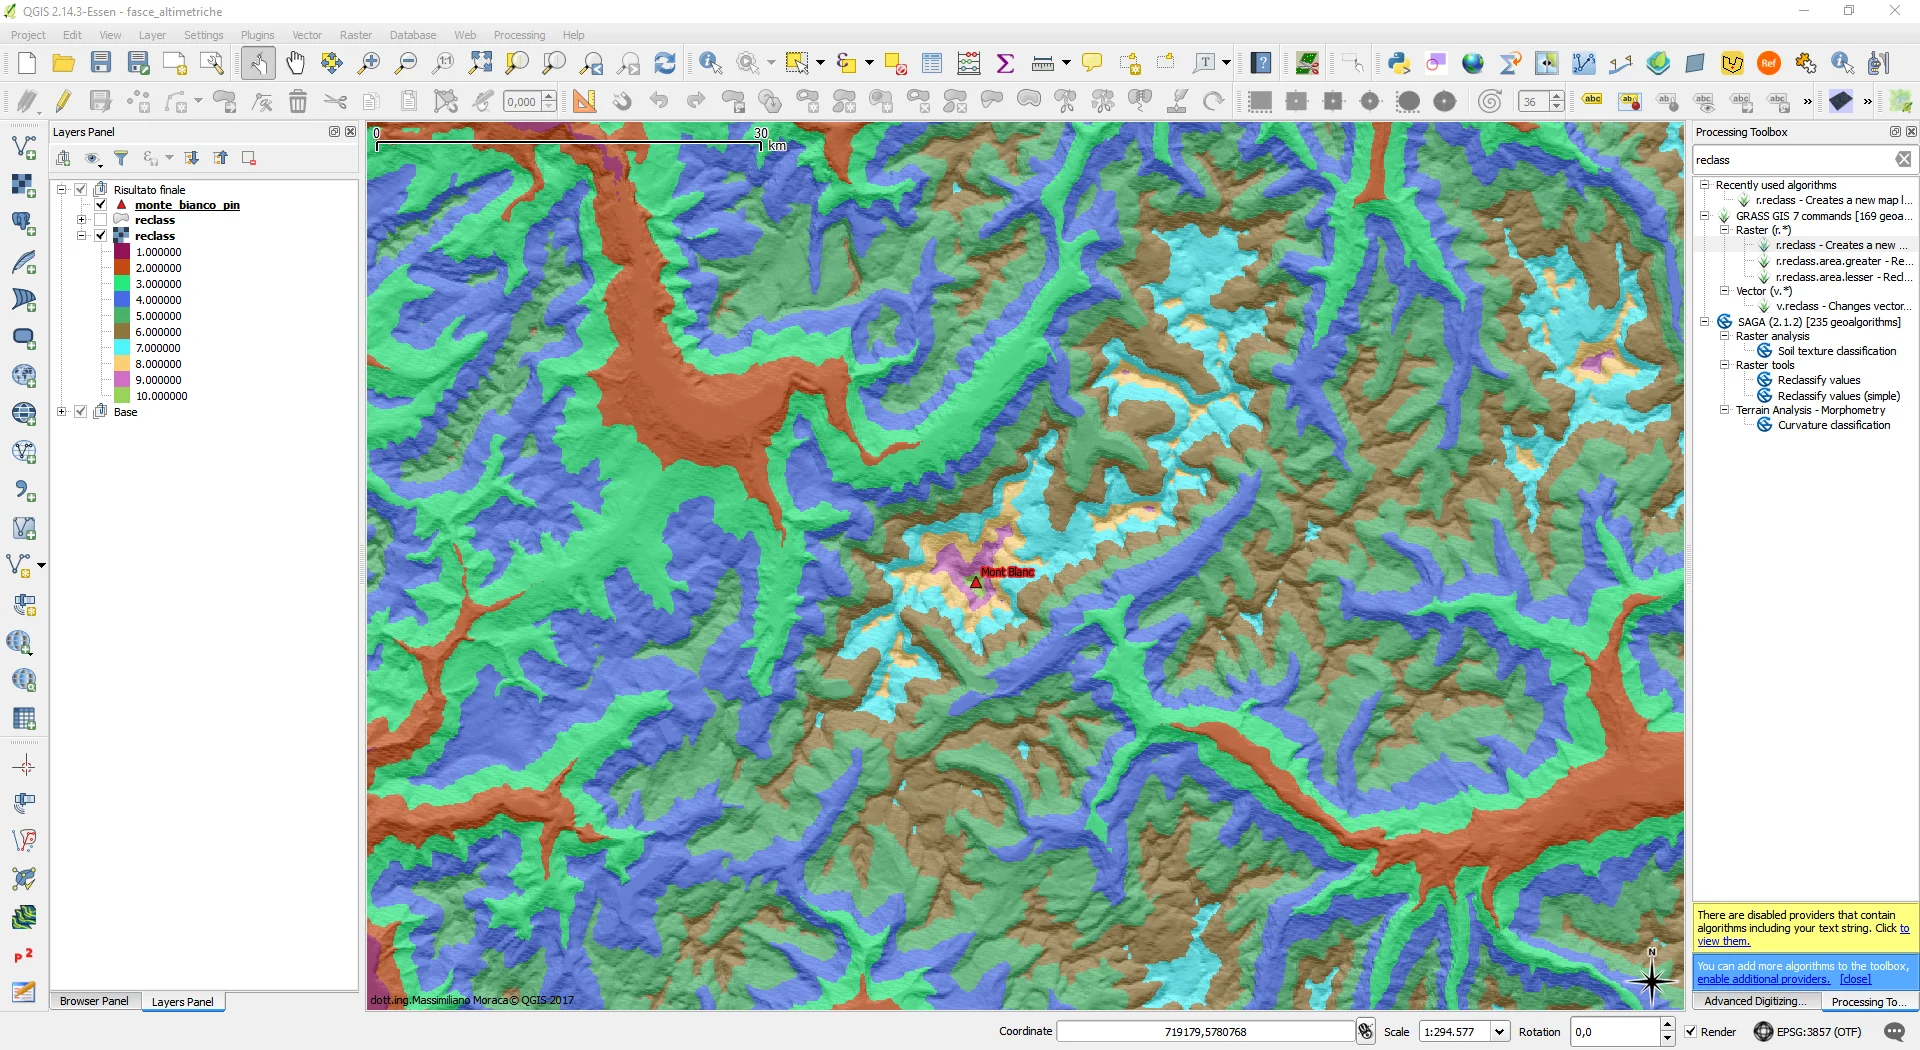
To generate the respective polygons we go to the menu and click on Raster, then go to Conversion and click on Poligonize (Raster to Vector). We choose the raster to polygonalize, the one resulting from the reclassification, and start the algorithm. Once the process is completed, the result will be similar to the following, obviously you have to theme the polygon.
In the following video it is explained the whole process. Share the article if you are interested in it. I liked it so much will be able to be of help to someone else too.
See Mont Blanc in 3D!